Showing posts with label Home. Show all posts

Create your own coffee bar in 5 easy steps


Create your own coffee station in 5 easy steps
Good coffee is a pleasure. Good friends are a treasure. 

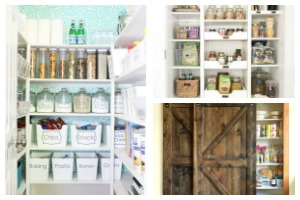
When my husband and I bought our house, we knew that we wanted it to be filled often with family and friends. We love having guests over, and we love to 
make everyone feel welcome.

10 tips to turn a nursery into a big kid bedroom

10 tips that will help you turn a nursery into a big kid bedroom, along with a printable planning worksheet to help you keep track of your ideas and form a plan for your new toddler room.

"All children, except one, grow up." -J.M. Barrie, Peter Pan

Well, Emma hasn't grown up quite yet, but the time is certainly flying by. I can't believe she's already 2!

And, as a 2 year old, we decided it was time to redesign her bedroom,

Pantry organization: 7 people who are absolutely killing it!

Pantry organization ideas: 7 pantry remodels from people who are killing it! Ideas and tips for organizing your own pantry.
People who visit our house sometimes ask us, "Are you preparing for some kind of nuclear war?"

They are referring to the large amount of food we keep stockpiled in our pantry.

8 beautiful, functional laundry rooms

Up until a few months ago, our laundry room had no walls.

It also had no ceiling and a cement floor with a hole in the middle that used to be a drain.

Essential breastfeeding supplies: How I organized my nighttime nursing station

If you choose to breastfeed, you will be spending many, many hours of the day and night doing so. Why not make it comfortable and convenient? Today, I'm so excited to share with you how I organized the corner of my bedroom to make it a comfy, convenient nursing station, and which supplies I always keep on hand to make nighttime

Kate's pink and gray nursery reveal

I can't believe Kate has already been home with us for 3 weeks. And I'm just now sharing the pictures of her nursery. If you read my Welcome, Kate! post (or if you follow me on Instagram) then you know that we waited around for this baby to come for quite some time. I had so much fun getting her nursery ready, partially because it made all that

An organized art station for kids

If you saw my post 2 weeks ago on beautifully organized art stations for kids, then you know that I've had art supply organization on the brain.

Even as a one-year-old, Emma has accumulated quite the art supply

10 Beautiful, Organized Art Stations for Kids

I miss our bar.

The one in our basement. It has been completely taken over by my one-year-old's art supplies.

It started out small: a bag of markers, a

8 Great Ideas for Organizing Wrapping Paper

Hi guys! If you follow me on Pinterest, then you know that I've been a little obsessed with wrapping stations lately. I've been scouring the world wide web for ideas and inspiration, and today I'm ready to share with you the best of the best gift wrapping stations!
8 beautiful and creative gift wrapping paper organization ideas

Mix it up with printable kitchen wall art

Do you ever see something amazing on Pinterest, pin it, and promptly forget all about it? I know I do. That's why I'm so excited to share the printable wall art I finally got around to actually putting up in our kitchen! And you know what? It took less than an hour to put up- start to finish. I should have done this ages ago.
Aren't they fun? Now that they're up, I just can't get enough of them. Here's how you can do it too: 

1. Download the printables. 

Leslie, over at The Jacobs Clan created these gems, and I found them (via Pinterest) at her etsy shop. She has tons of cute designs to choose from. I fell in love with these, and printed them on card stock. 
2. Wait for 1-2 years. Develop your career. Buy a house. Have a baby. 

Just kidding! I wouldn't recommend doing this exactly the same way I did. :) 

3. Frames

I bought some super-flat frames at IKEA. You'll see why they had to be flat when you see where I chose to hang them. I used 8x10s, but you can print these out in a variety of sizes.
4. Hang em up!

Like most good bloggers, I have all kinds of plans to renovate my entire house. . . eventually. But while we wait for a full-blown kitchen renovation, we have taken some steps to make things better. We painted our cabinets last summer, and we traded in the dark orange (agggh!) walls for a pretty grey. 

What we still have is an awkward space, one step down from the kitchen, with a wall straight ahead, the basement stairway to the right, and the garage door to the left. It was a spot in need of some love, and these pictures were the perfect pieces for the job!   
I love how the blues, reds and greys ties in perfectly with our kitchen color scheme (although all you can see of it from this picture is the valence on door to the garage.) 
So easy. So fun. Definitely a project worth (finally) finishing! 

Easy D.I.Y. Home Recycling Center

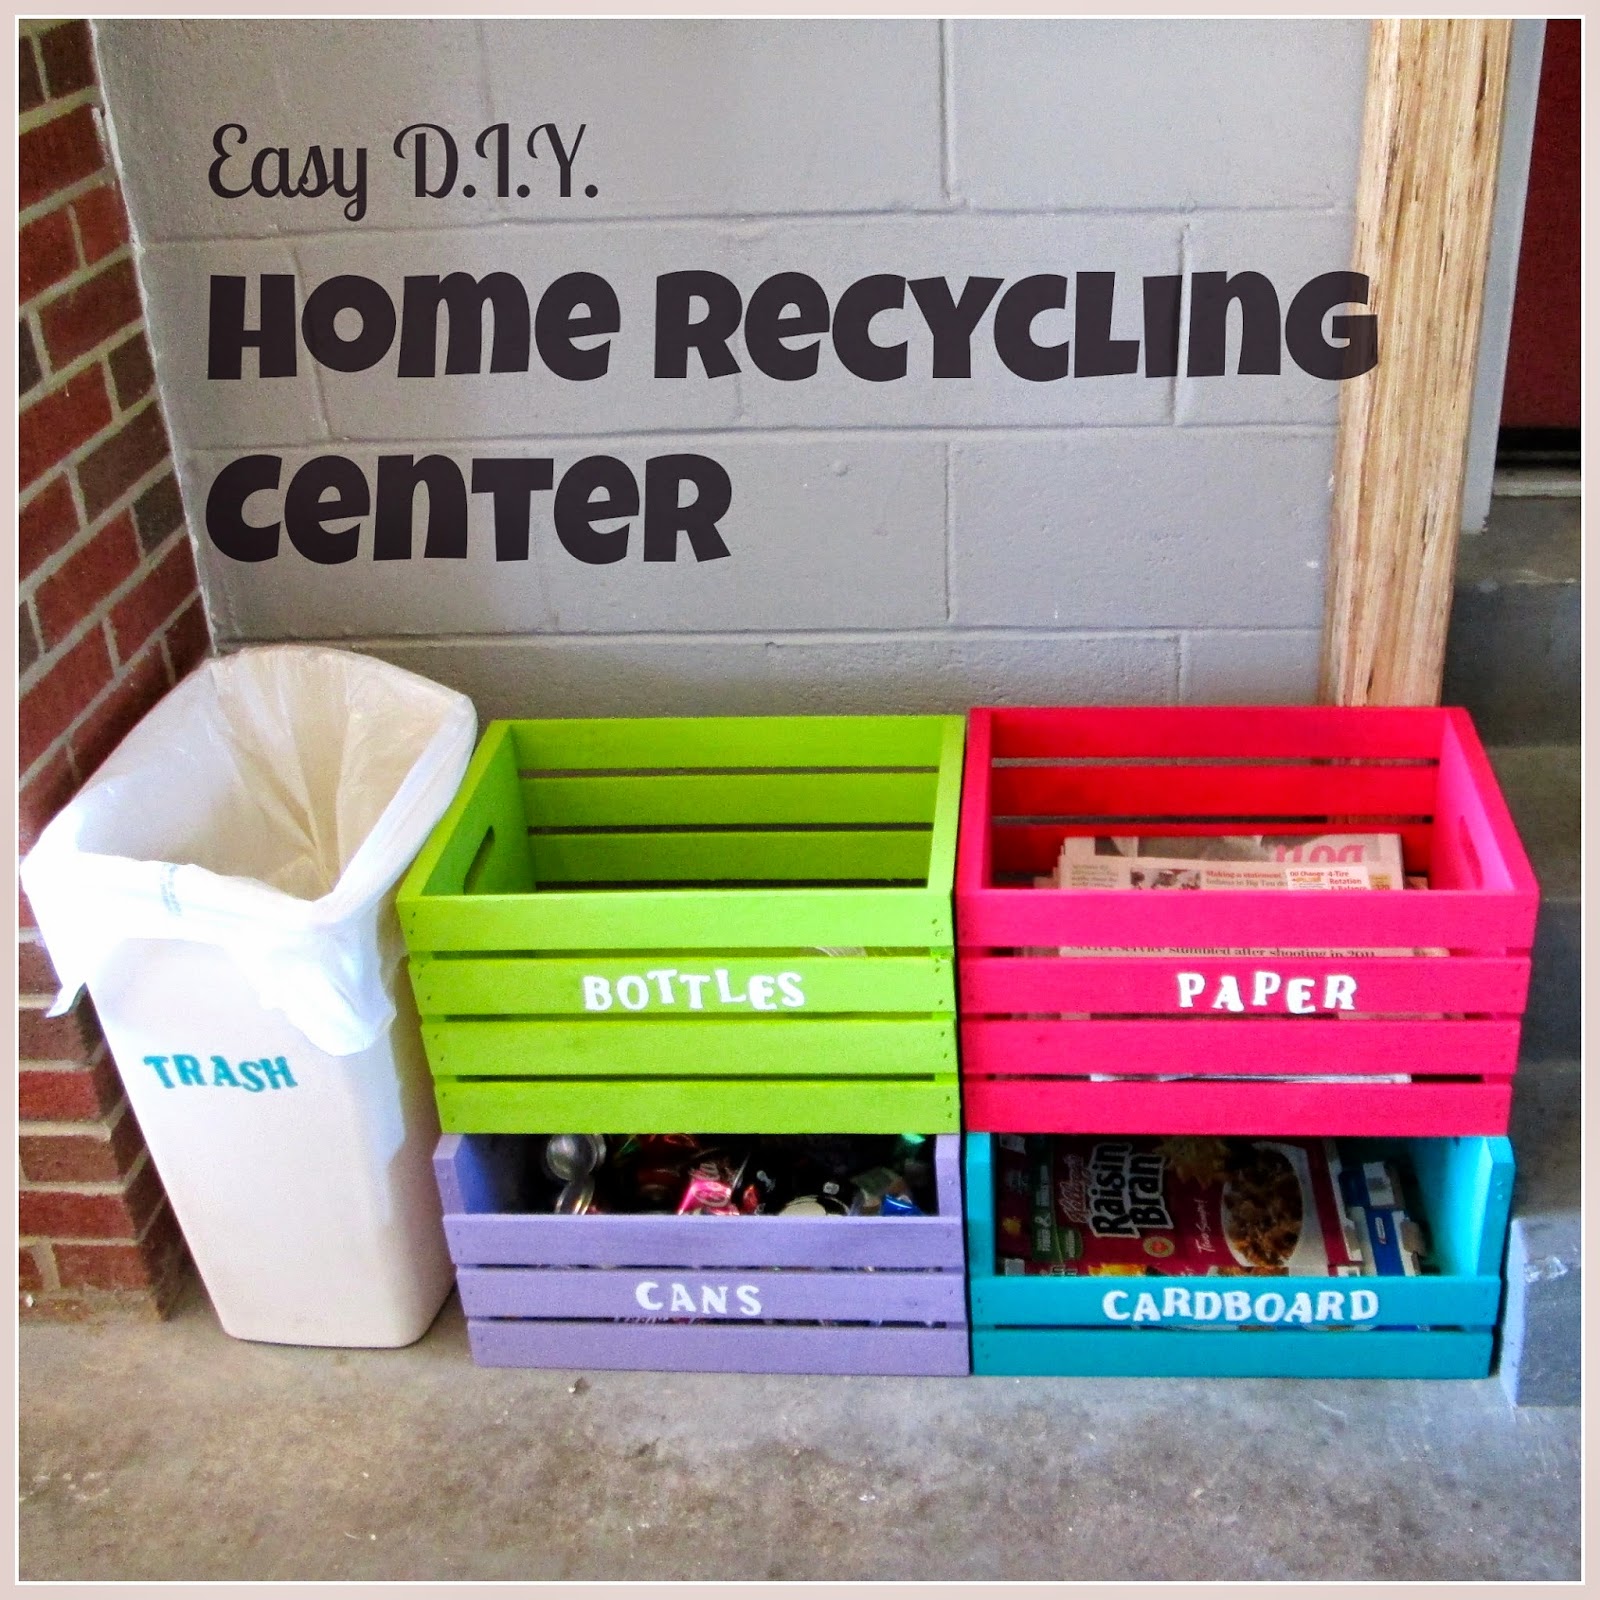
We are lucky enough to live in a township where recycling is picked up at our house weekly. Up until last week, we've used the area of our garage right outside of the kitchen door to store our recycling in between pick-ups. To be honest- this area has been an eyesore. We basically just used a trash can, a cardboard box, and a basket to collect our recyclables. Anything that didn't fit into these containers just got placed somewhere nearby until recycling day. It looked pretty bad. Take a a look at these "before" pictures:  
Here are the materials I used to create a more organized home recycling center:  4 wooden crates (I found them on sale for around $8 each at Joanne's), 4 tubes of brightly colored paint (I had to go back to the store to buy a second tube of each), a paint brush, and some alphabet stencils. 
Then, I painted each crate a different color and used the stencil to label each one.  I decided to make one crate for bottles (and jars), one for paper, one for cans, and one for cardboard.  For the two crates on the bottom, I carefully used a hammer to remove one or two slats for easy access.  Finally, I used some extra paint to label my trash can.  Here was the result: 
I couldn't wait to start to use my new home recycling center!
Here's one more before and after shot:
Hopefully, I've given you some ideas to think about.  Happy organizing! 

Laura Beth

Easy Outdoor Fire Pit

It's the time of year for pumpkin carving, hot apple cider, and cool evenings spent around bonfires in the backyard!  When Kevin and I bought this house, we were excited about the big backyard.  Unfortunately, the very center of the backyard was consumed by a huge, unruly flowerbed.  I like flowerbeds, but it was really important to us to have a large, grassy space in the middle of the yard- big enough to host cook-outs, play lawn games, or hang out around a fire in the evenings.  It took several days of hard work, but here is the transformation from jungle to (almost all) grass: 

As we waited for the rest of the grass to grow in, we began exploring options for building an easy fire pit.  We found the perfect solution at our local Home Depot, where we were able to purchase two different types of stone as well as a fire pit insert.  You can actually buy a "kit" which includes all of the stones that you'll need and an insert- perfect if you want to make sure that you'll end up with the correct number of pieces to complete your circle.  They have a lot of choices- check one of them out here.  


1. Dig up the grass and level a circle of dirt 
2. Place the stones for the first layer.  (We didn't cement these.)  Each layer is made up of alternating small rectangular stones, and larger trapazoid-shaped stones: 12 of each.


3. Position the stones for the second layer.   

4. Lift up each stone in the second layer one at a time, and apply a dime-sized amount of masonry sealant to the bottom and one side before replacing it. 

5. Repeat with the third layer.  We stopped after three layers, but we could have easily kept going if we had wanted a taller fire pit. 
6. Set the insert on top of the stones.  We decided not to cement the insert, in case we ever wanted to remove it for a particularly large fire.  It fits snugly, and it's heavy enough that you don't have to worry about it sliding around.     
That's it!  It didn't take more than an hour or two to build.  So easy, and I LOVE the finished product.   Now to find some beautiful, inexpensive adirondack-style chairs to put around the fire. . . Funny how one project always seems to lead to another! 


Happy building!
Laura